
Reality Capture embeds an interactive 360 degree image viewer in a Power BI report. It loads high resolution panoramic images from a SharePoint folder and supports zoom, pan, keyboard navigation, and side-by-side or overlaid comparison of two images.
The visual provides:
- Click to load any panorama from a table row in the report
- Mouse and keyboard navigation for panning, rotating, and zooming the camera
- Toolbar controls for inverting the camera, resetting the scene, field of view, and camera, and going fullscreen
- Compare mode in side-by-side or overlaid form, with camera sync and per-window locks
- Format options that set which controls appear and how the viewer behaves on load
Reality Capture was co-designed, iteratively tested, and delivered in partnership with Gustavo Lins Gonçalves, a specialist in immersive technologies based in Belo Horizonte, MG, Brazil.
Getting Started
Reality Capture is available on the Power BI marketplace and can be added to any report. Once it is on the canvas, the images it displays come from a Power Query query that reads a SharePoint folder, so the query has to be set up before the viewer has anything to show.
Image Processing Query
The viewer cannot read image files from SharePoint directly. This query processes every image in a chosen folder into a series of base64 strings, which Reality Capture reassembles into images at render time.
Create a new query in Power Query and paste the following as its source.
let
    Source = SharePoint.Files("[ROOT_URL]", [ApiVersion = 15]),

    #"Filtered Rows" = Table.SelectRows(Source, each ([Folder Path] = "[COMPLETE_IMAGES_FOLDER_PATH]")),

    // Filter for image files based on Extension or Name
    FilterImages = Table.SelectRows(#"Filtered Rows", each
        let
            extFromExtension = Text.Lower([Extension]),
            extFromName = if Text.Contains([Name], ".") then Text.Lower(Text.AfterDelimiter([Name], ".", {0, RelativePosition.FromEnd})) else "",
            isImage = List.Contains({".jpg", ".jpeg"}, extFromExtension) or
                      List.Contains({".jpg", ".jpeg"}, extFromName)
        in
            isImage),

    // Add ImageURL column
    AddImageURL = Table.AddColumn(FilterImages, "ImageURL", each
        let
            folderPath = if Text.EndsWith([Folder Path], "/") then [Folder Path] else [Folder Path] & "/",
            nameEndsWithExtension = Text.Lower(Text.End([Name], Text.Length([Extension]))) = Text.Lower([Extension]),
            fullUrl = folderPath & [Name] & (if nameEndsWithExtension then "" else [Extension])
        in
            fullUrl, type text),

    // Fetch binary content
    AddImageBinary = Table.AddColumn(AddImageURL, "ImageBinary", each
        try Web.Contents([ImageURL]) otherwise null, type binary),

    // Convert to base64
    AddImageBase64 = Table.AddColumn(AddImageBinary, "ImageBase64", each
        if [ImageBinary] is null then null else Binary.ToText([ImageBinary], BinaryEncoding.Base64), type text),

    // Add ImageID for grouping
    AddImageID = Table.AddIndexColumn(AddImageBase64, "ImageID", 0, 1, Int64.Type),

    // Split Base64 string into rows with segments
    SplitBase64 = Table.AddColumn(AddImageID, "Base64Segments", each
        if [ImageBase64] is null then {""} else
        let
            base64 = [ImageBase64],
            length = Text.Length(base64),
            maxSegmentSize = 30000, // Stay within 32,766-character limit
            numSegments = Number.RoundUp(length / maxSegmentSize),
            segments = List.Generate(
                () => 0,
                each _ < numSegments,
                each _ + 1,
                each if _ * maxSegmentSize < length
                     then Text.Range(base64, _ * maxSegmentSize, if (_ + 1) * maxSegmentSize <= length then maxSegmentSize else length - (_ * maxSegmentSize))
                     else ""
            )
        in
            segments
    ),

    // Expand Base64Segments into rows
    ExpandBase64Segments = Table.ExpandListColumn(SplitBase64, "Base64Segments"),

    // Add SegmentIndex to track order
    AddSegmentIndex = Table.Group(
        ExpandBase64Segments,
        {"ImageID"},
        {
            {"AllRows", (t) => Table.AddIndexColumn(t, "SegmentIndex", 0, 1, Int64.Type)}
        }
    ),

    // Expand grouped table
    ExpandGroup = Table.ExpandTableColumn(
        AddSegmentIndex,
        "AllRows",
        {"Name", "Extension", "Folder Path", "ImageURL", "ImageBinary", "ImageBase64", "Base64Segments", "SegmentIndex"}
    ),

    // Convert Base64Segments to text and rename to Base64Segment
    ConvertToText = Table.RenameColumns(
        Table.TransformColumns(
            ExpandGroup,
            {{"Base64Segments", each if _ = null then "" else Text.From(_), type text}}
        ),
        {{"Base64Segments", "Base64Segment"}}
    ),

    // Remove intermediate columns
    RemoveIntermediate = Table.RemoveColumns(
        ConvertToText,
        {"ImageBinary", "ImageBase64"}
    )
in
    RemoveIntermediate
Setting the Image Folder Path
The query ships with placeholder URLs. Point them at your own SharePoint site and image folder before the viewer will load anything.
1. Open Power Query Editor
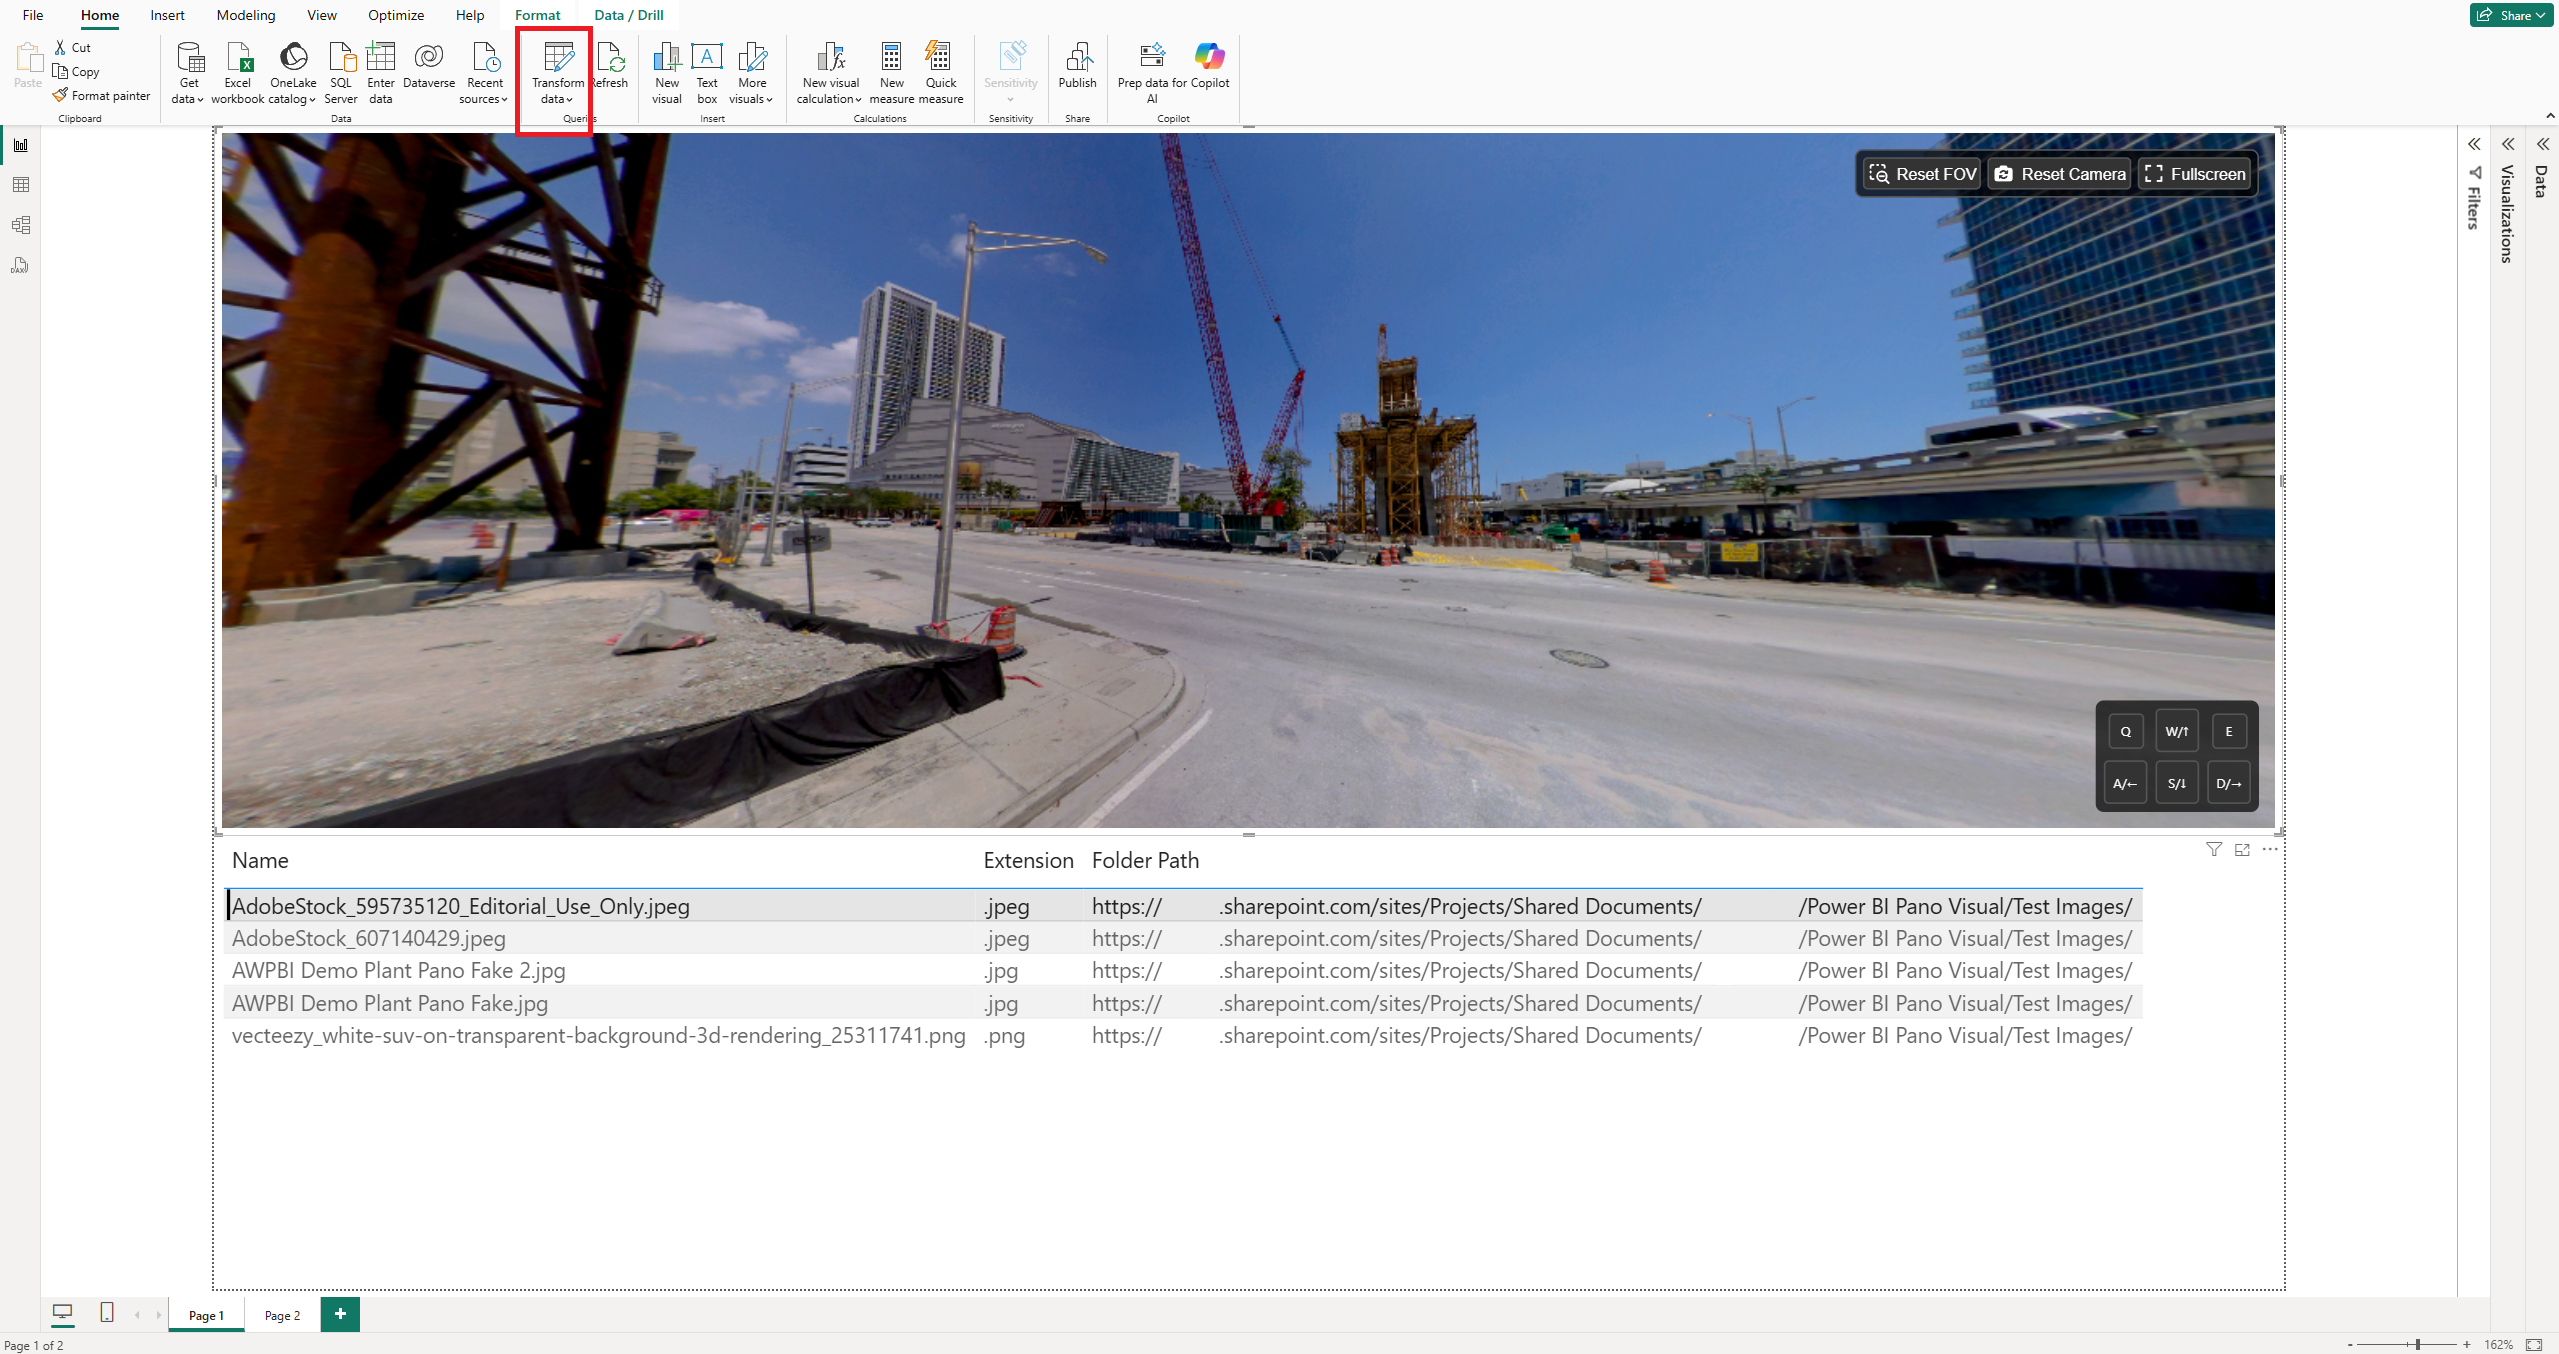
In Power BI, click Transform data in the header bar under the Queries tab. The Power Query Editor opens in a new window.
2. Open the Advanced Editor
In the left-hand Queries panel, create a new query and paste in the ImagesToBase64 query above. If you are working from a pre-made demo report, find the existing query of that name instead.
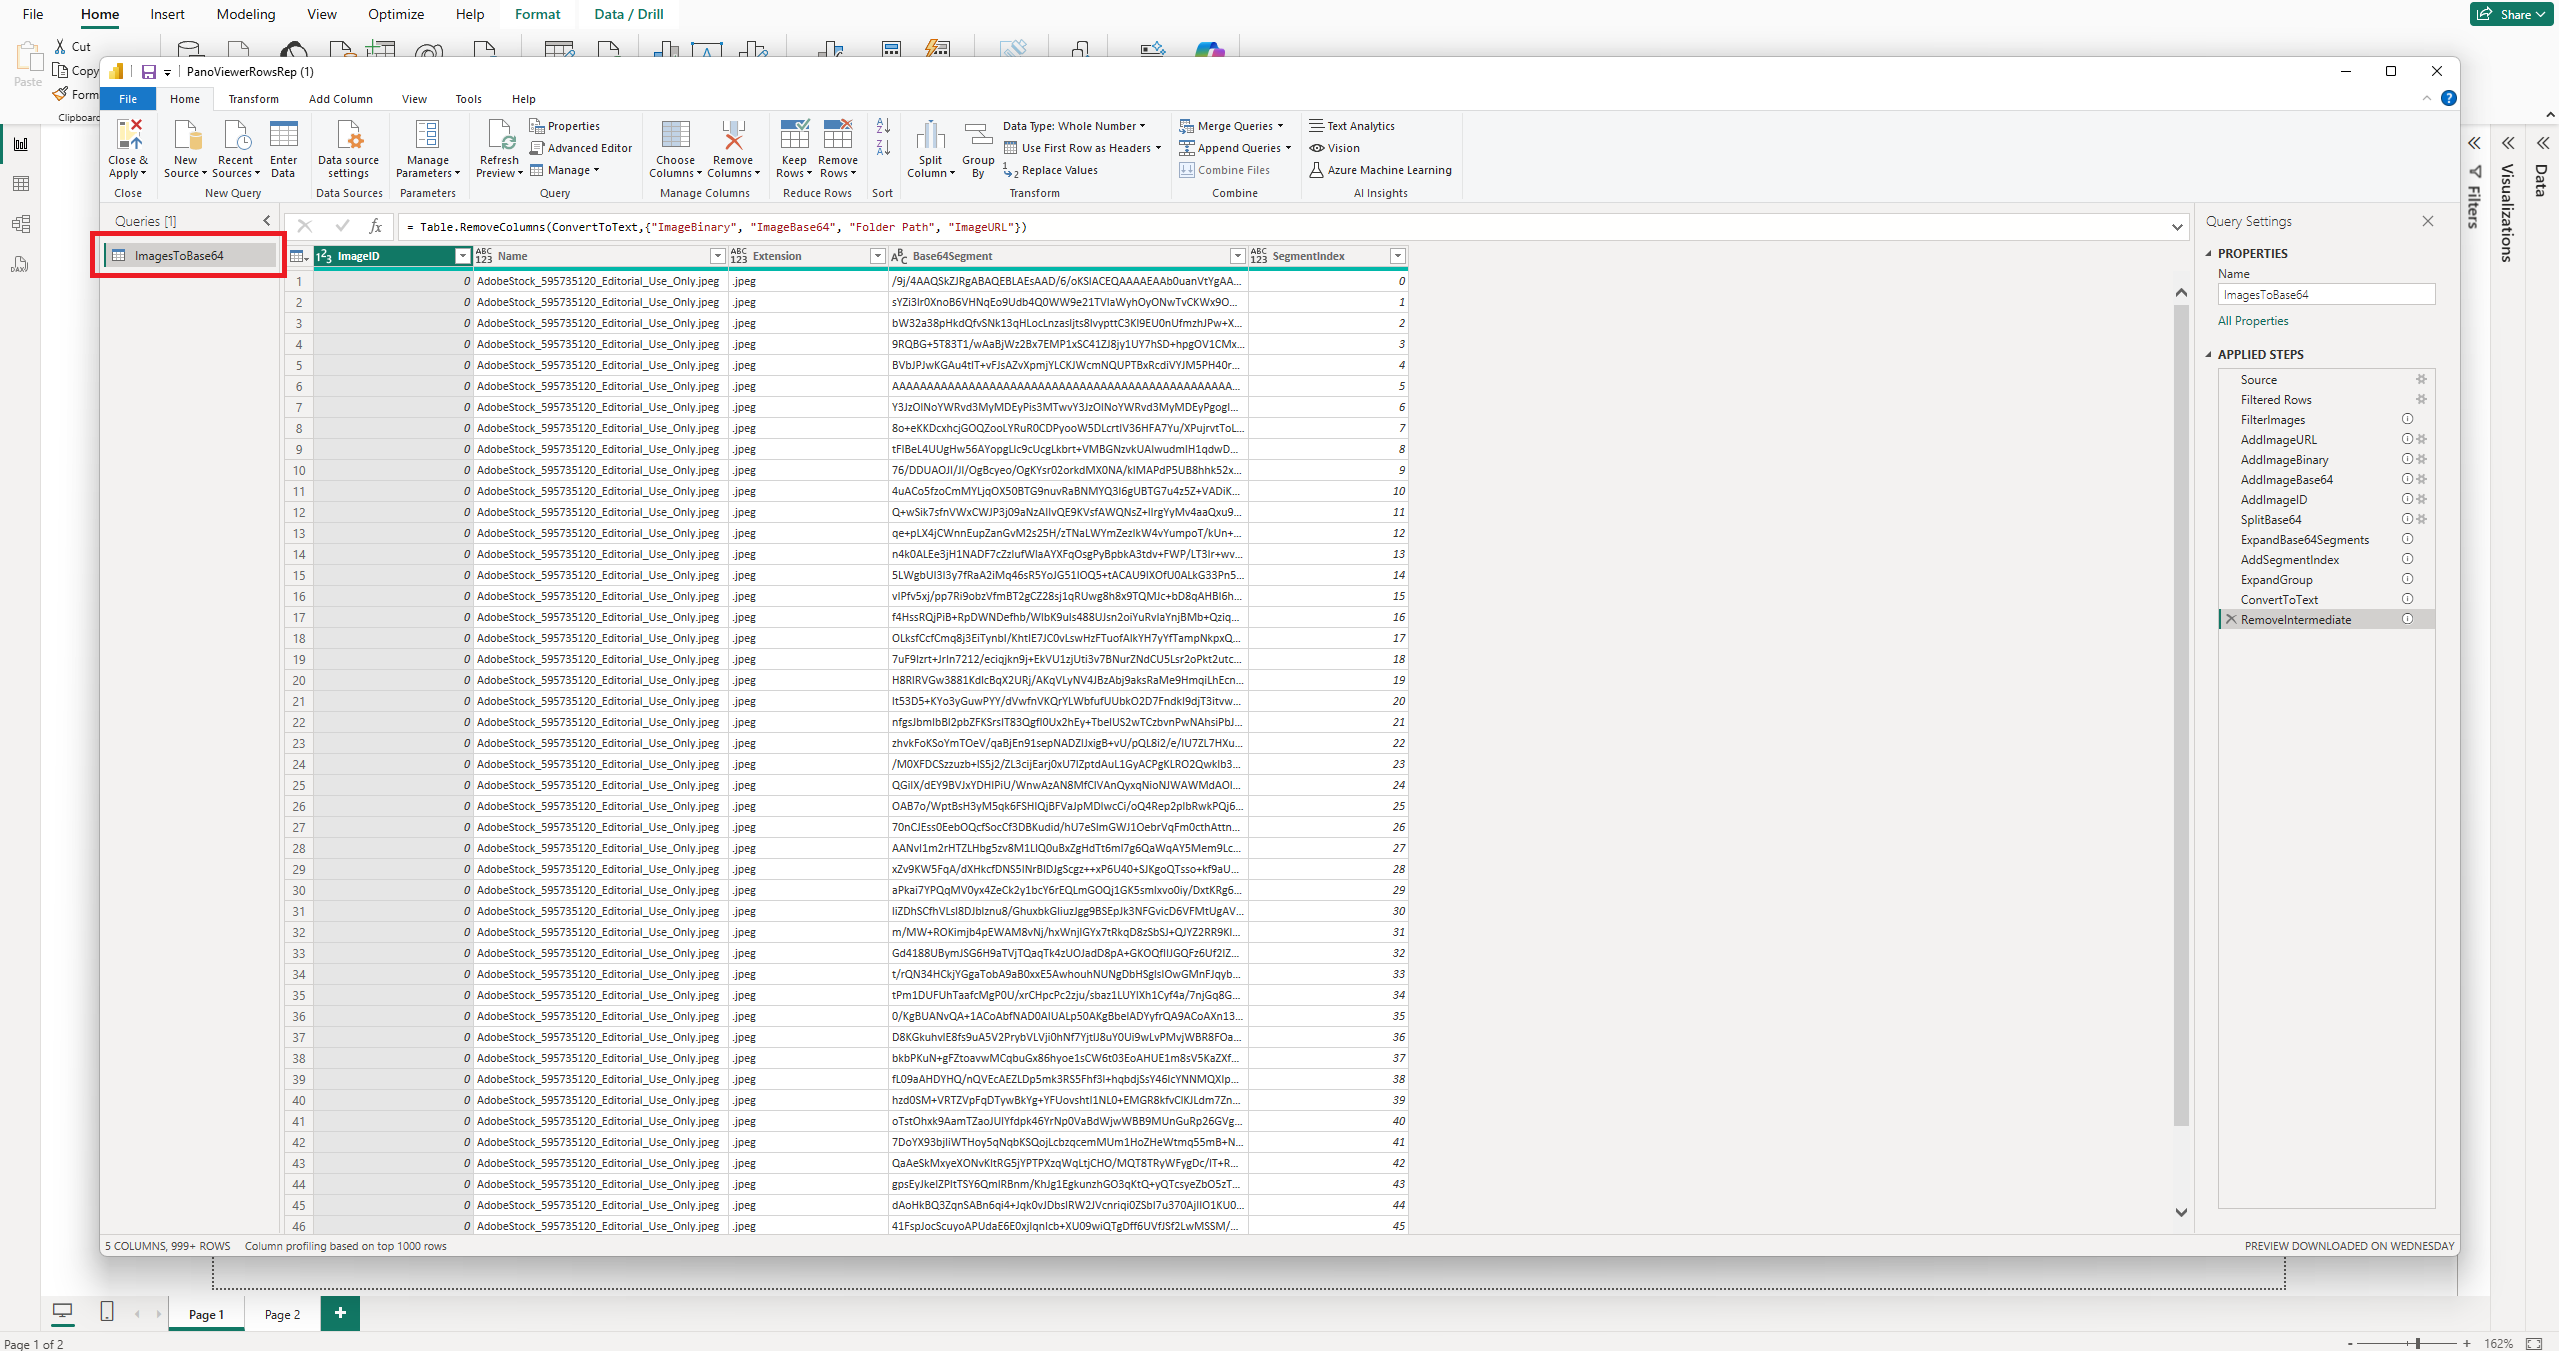
Right-click the query and select Advanced Editor.
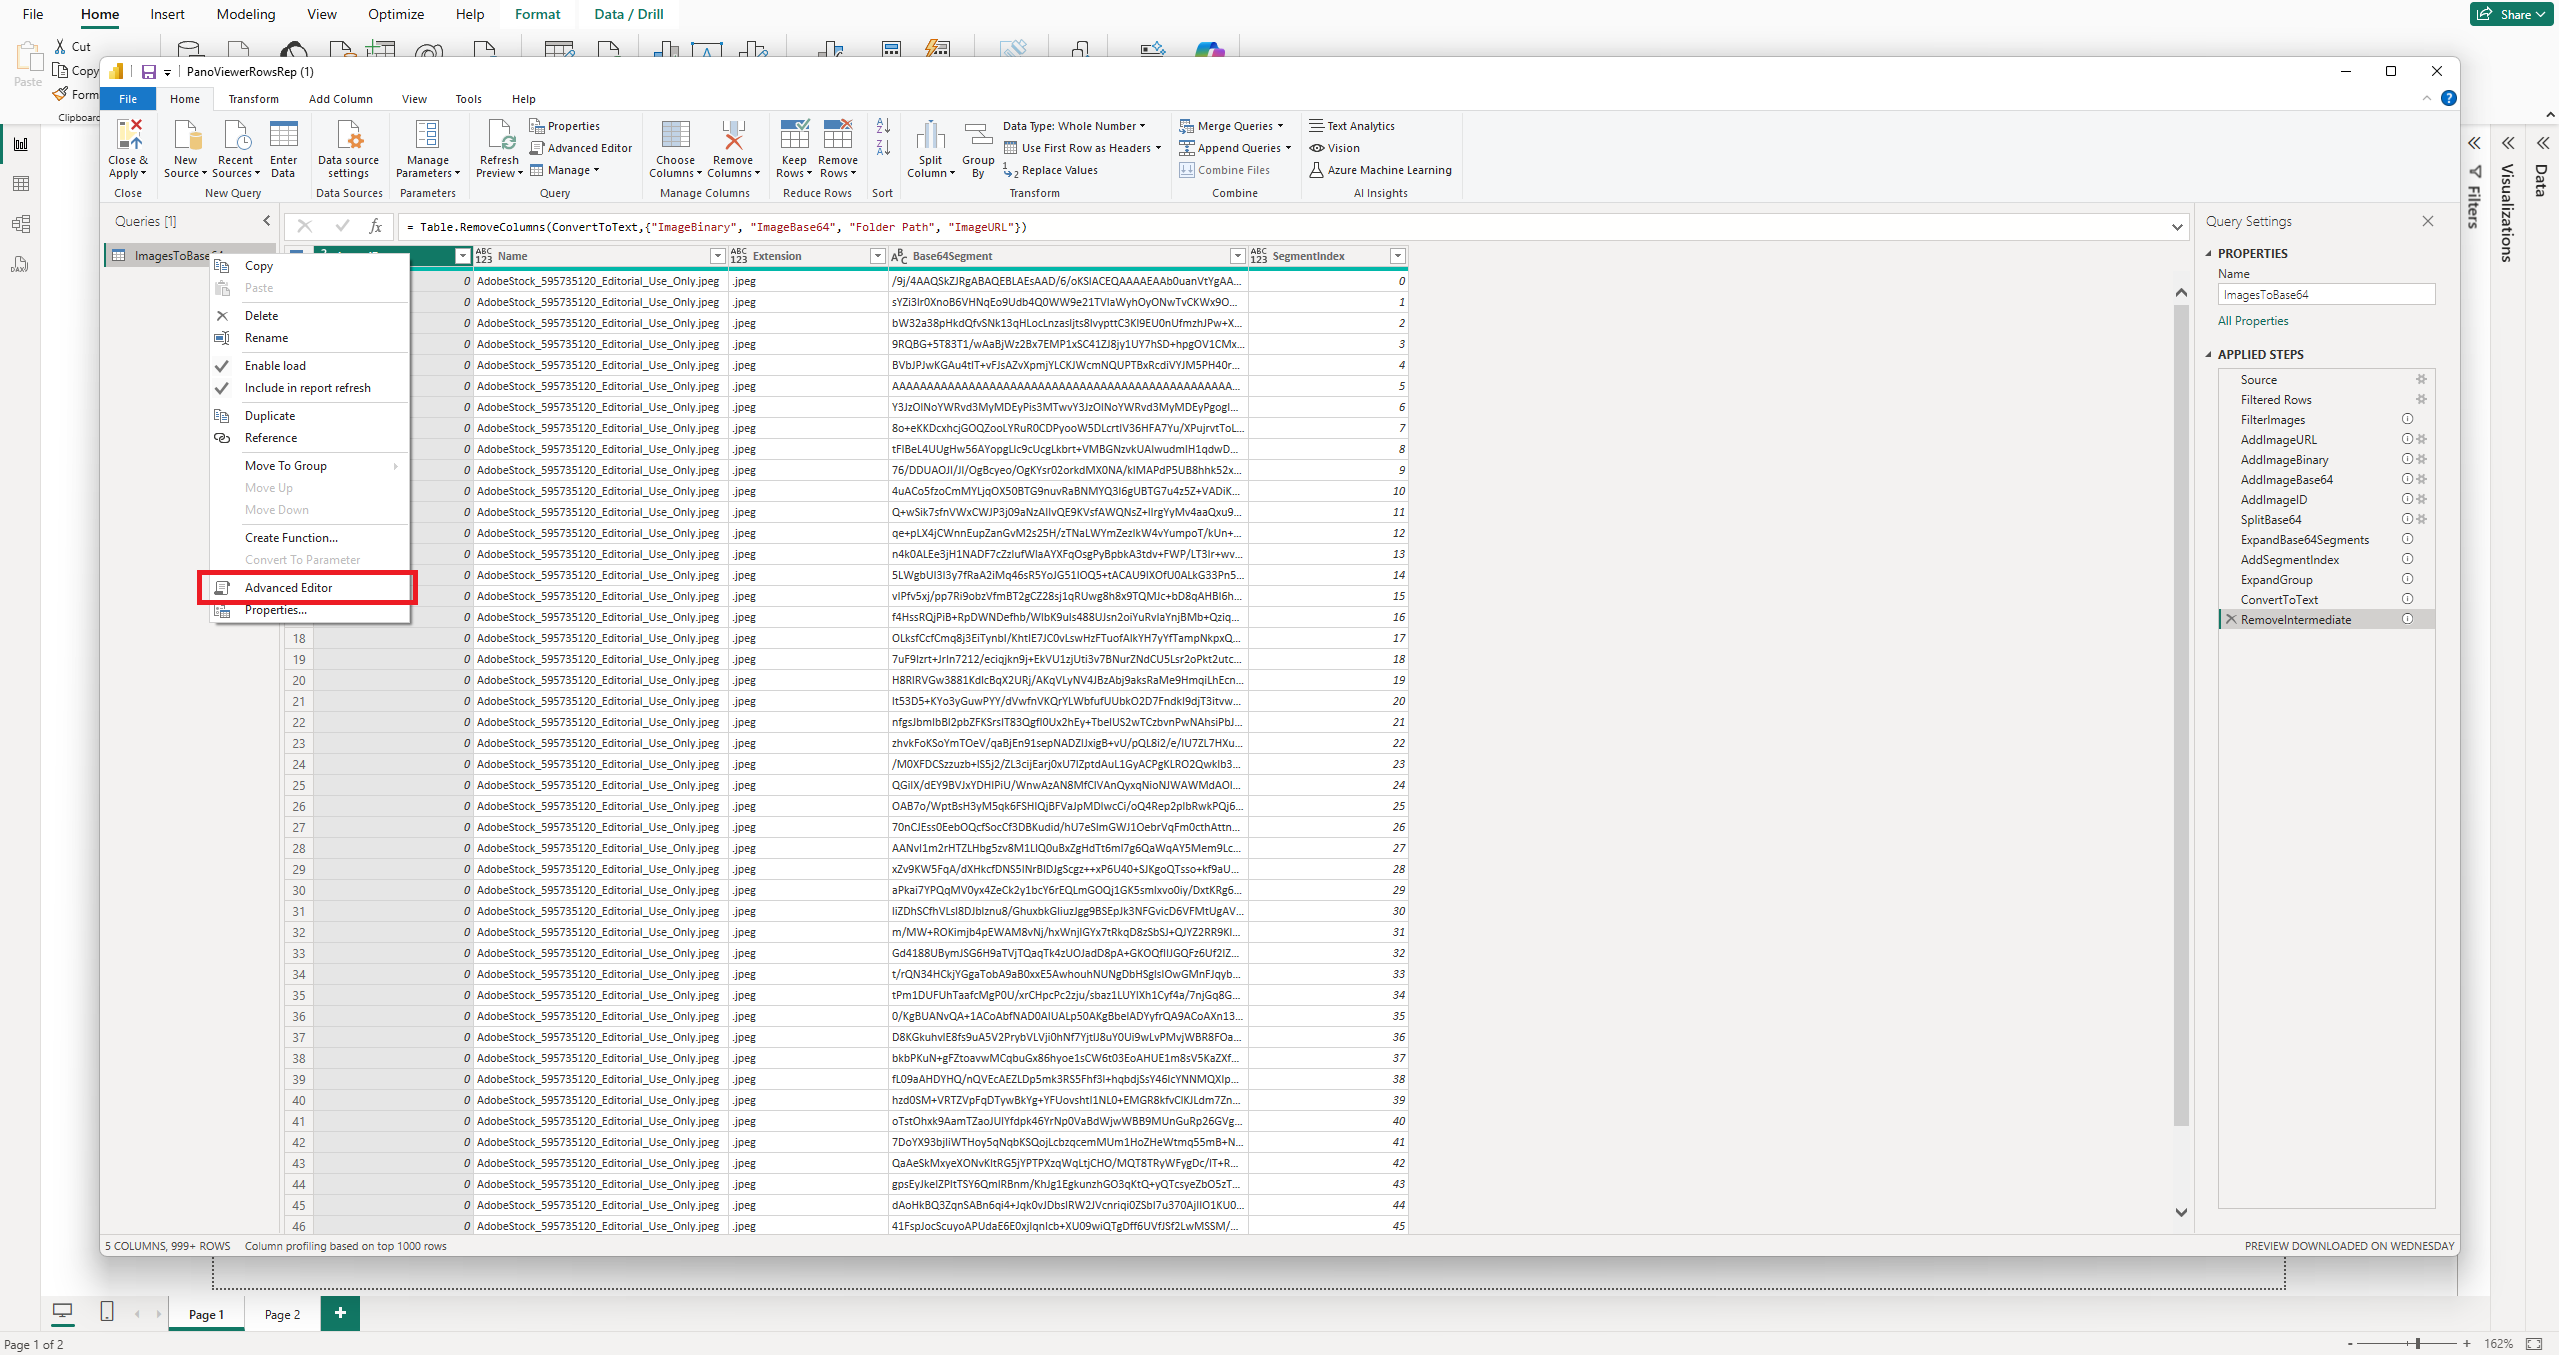
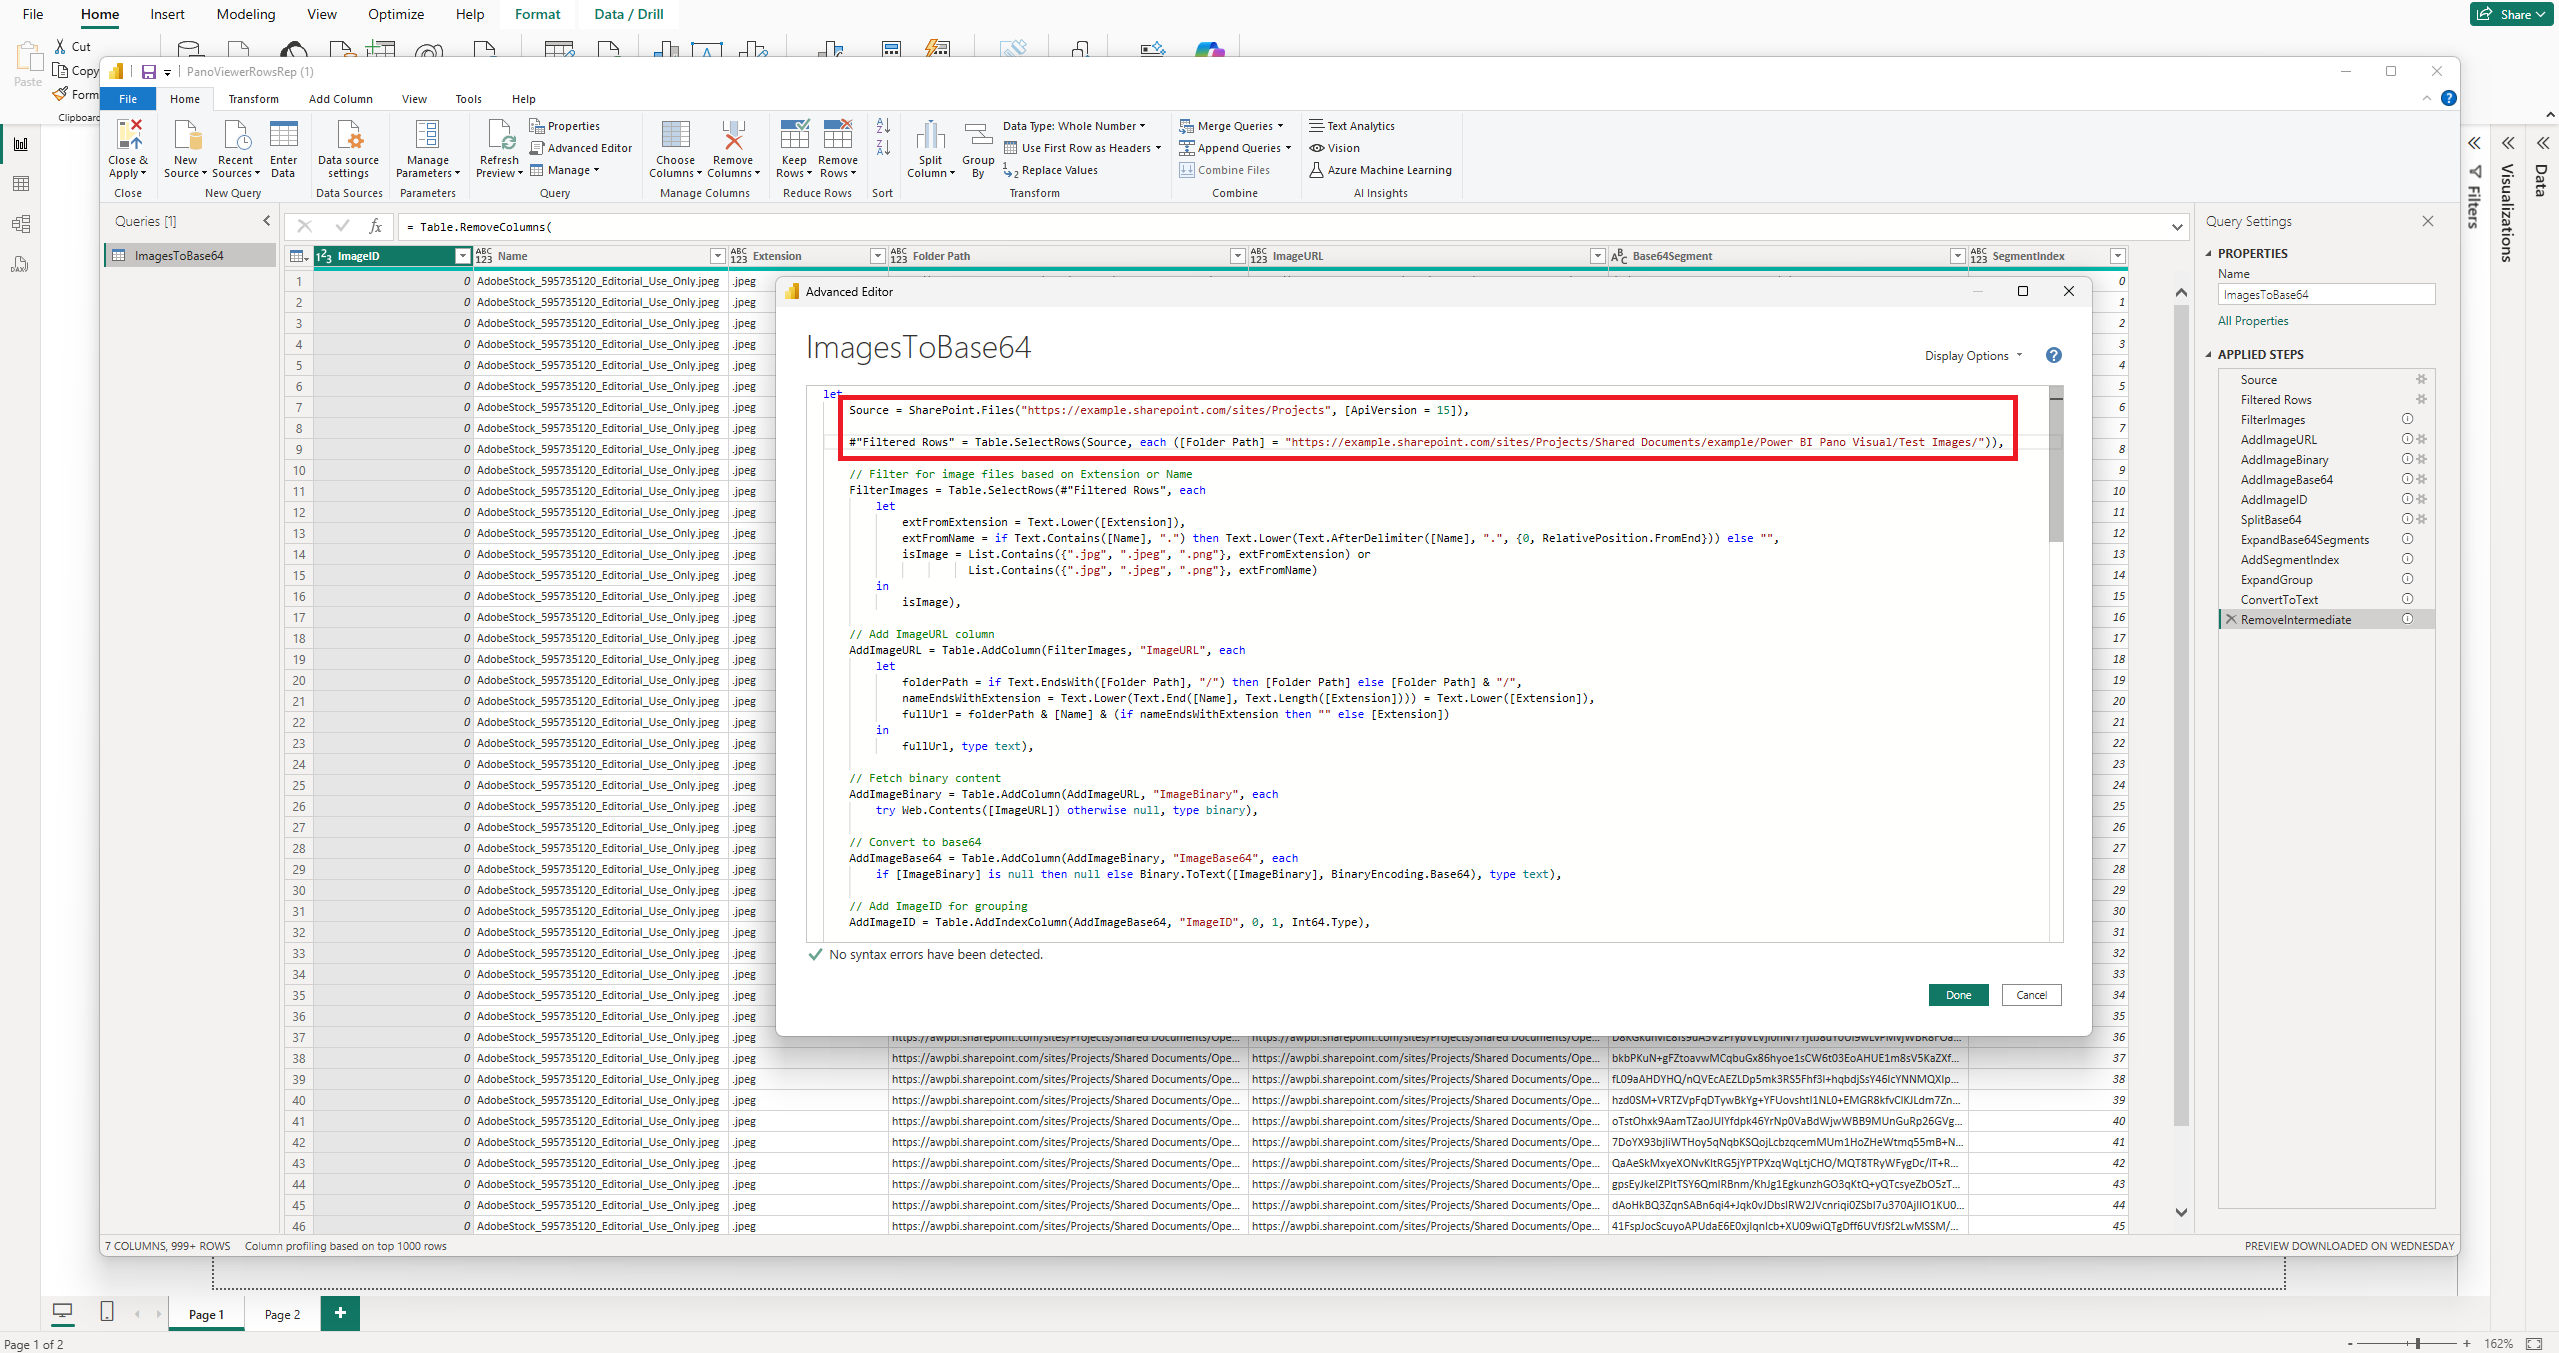
3. Locate the folder paths
In the editor, find the two path variables:
- Source = SharePoint.Files holds the site root URL.
- Filtered Rows = Table.SelectRows holds the target image folder path.
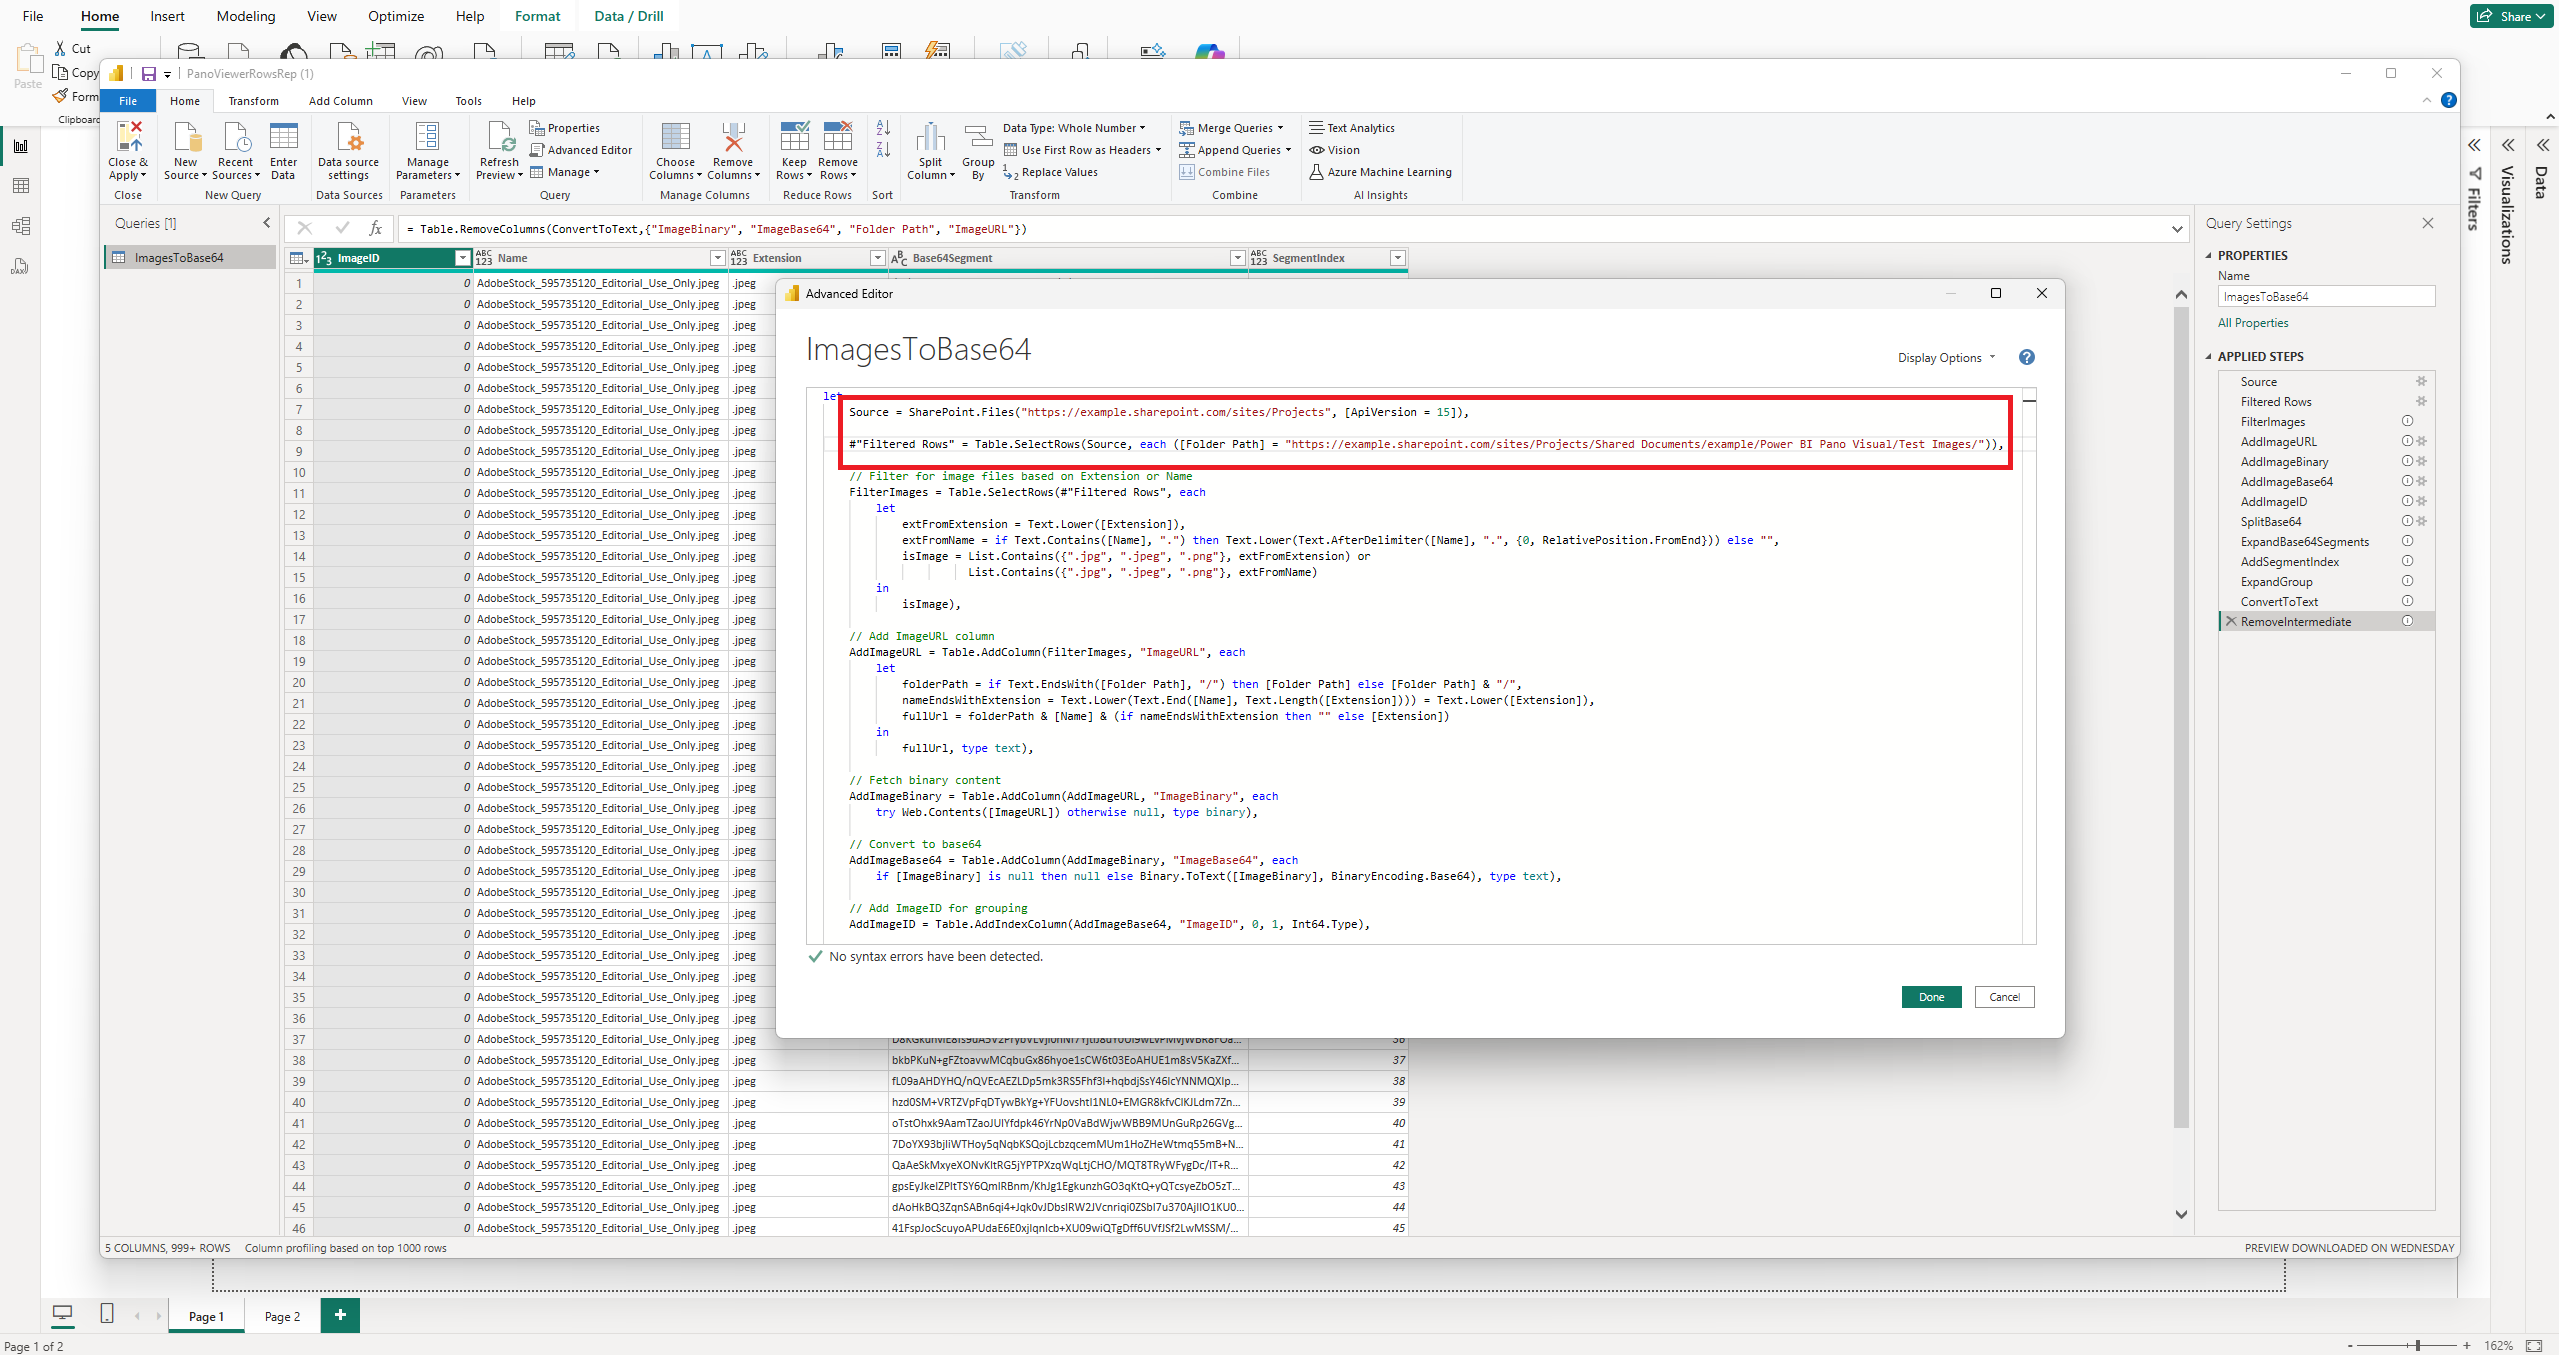
4. Obtain the required URLs
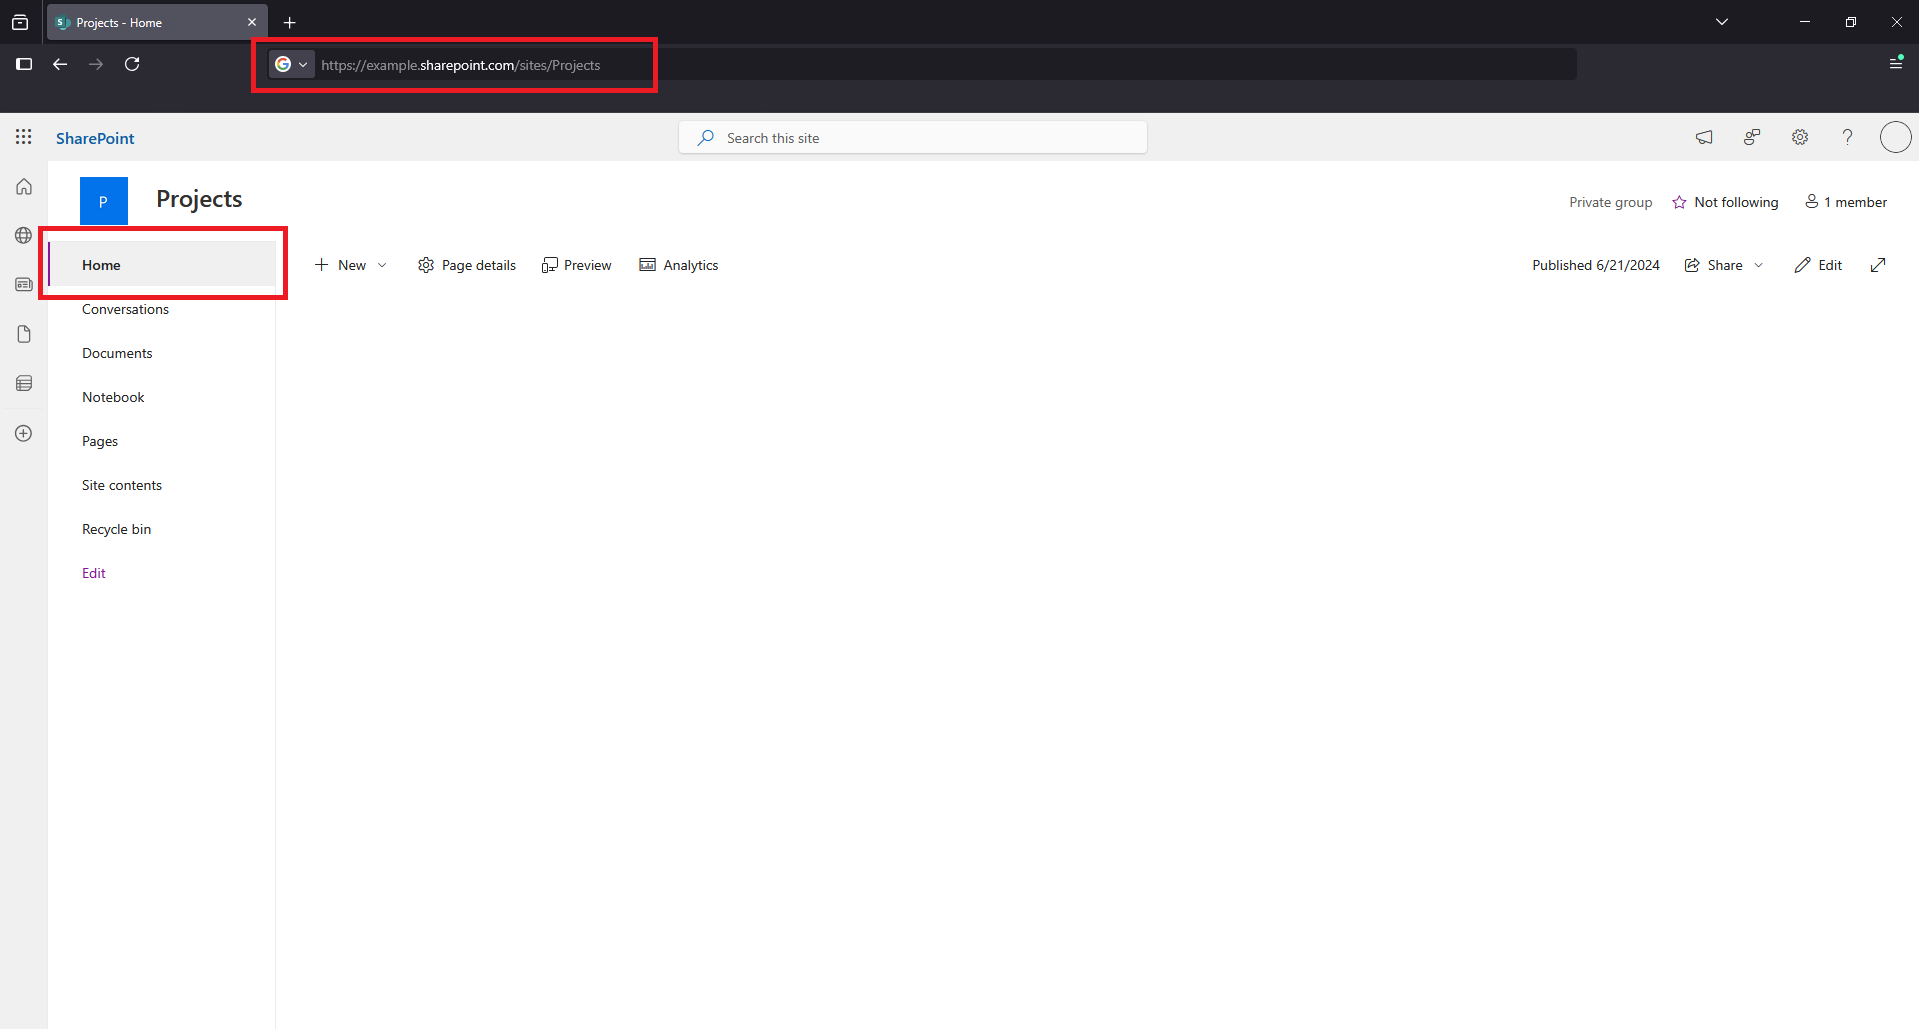
- Root URL. Open your SharePoint site, click Home in the left navigation, and copy the base site URL from the browser, for example
https://example.sharepoint.com/sites/Projects. - Folder URL. Navigate to your image folder in SharePoint and copy the full path, for example
/Power BI Pano Visual/Test Images/.
5. Update the code
Replace the placeholder in SharePoint.Files(...) with your site root, and the Folder Path filter string with your full image folder path.
6. Save and apply
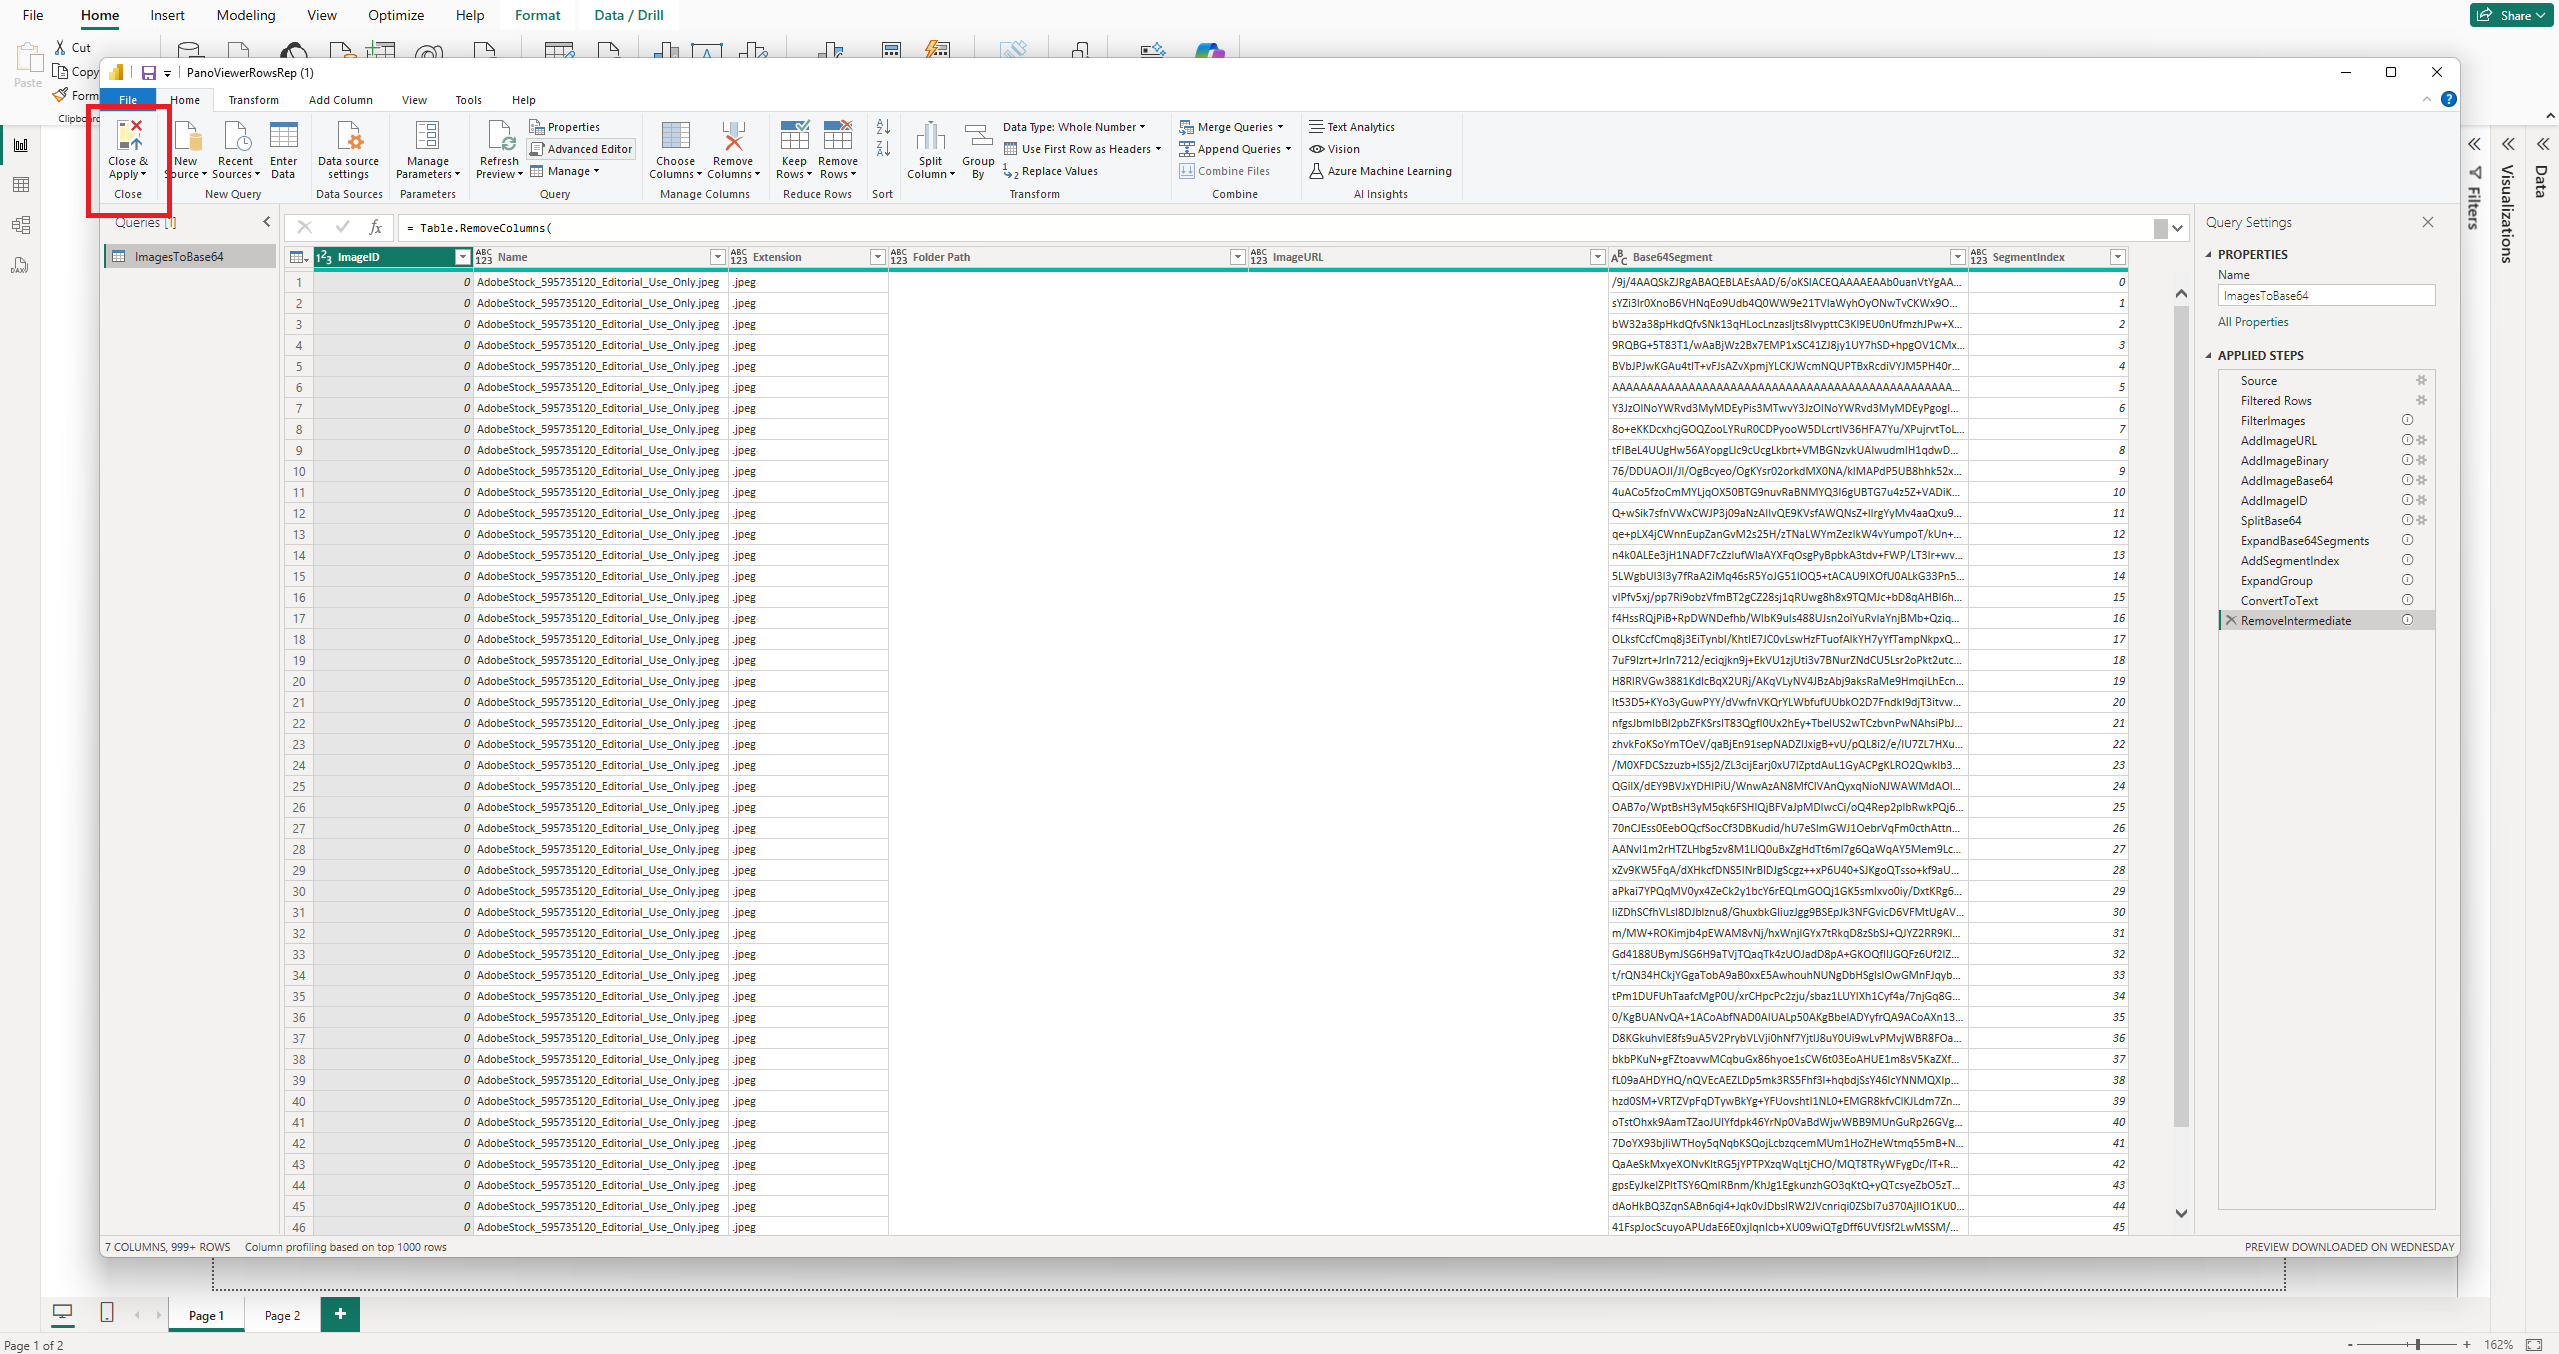
Click Done to close the Advanced Editor, then Close & Apply in the top-left of the Power Query Editor to apply the changes and reload the query.
Note: Reality Capture supports .png, .jpeg, and .jpg images. Source
images in any other format will not render in the viewer.
Format the Visual
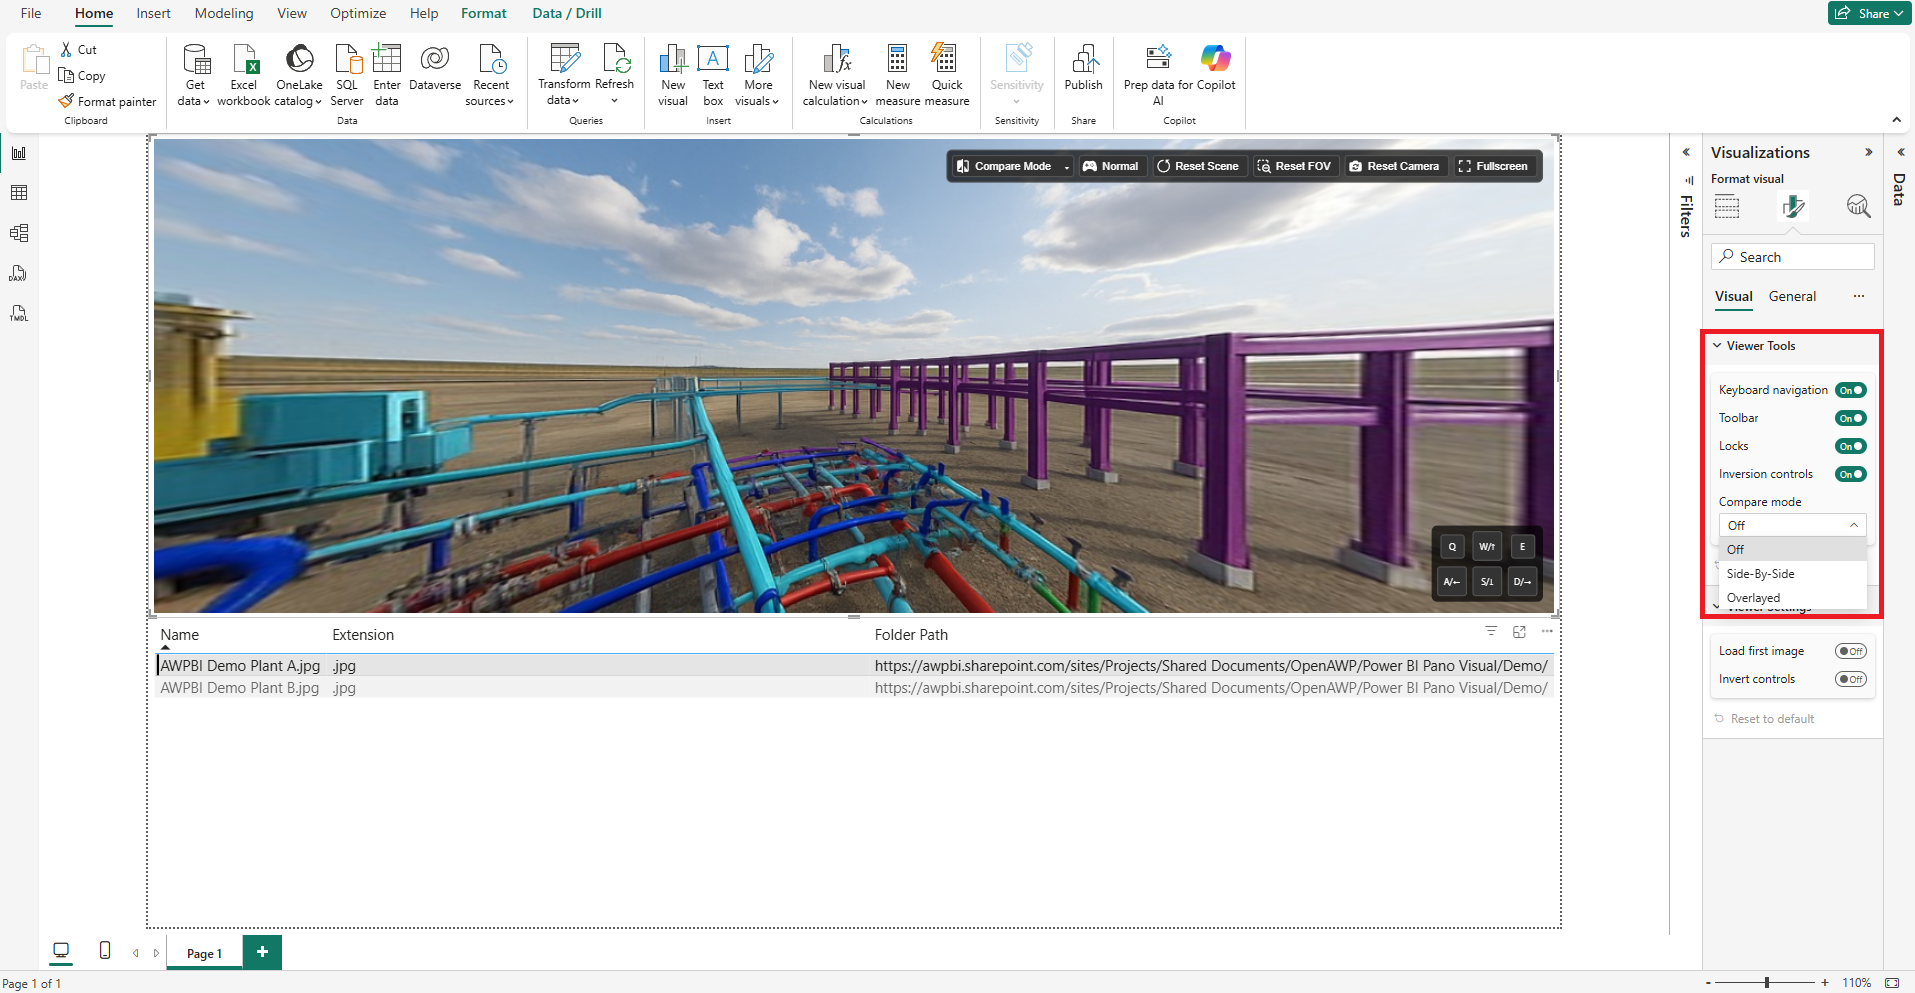
The Format visual pane controls which viewer controls are available and how the viewer behaves when the report opens.
1. Open the Format visual pane
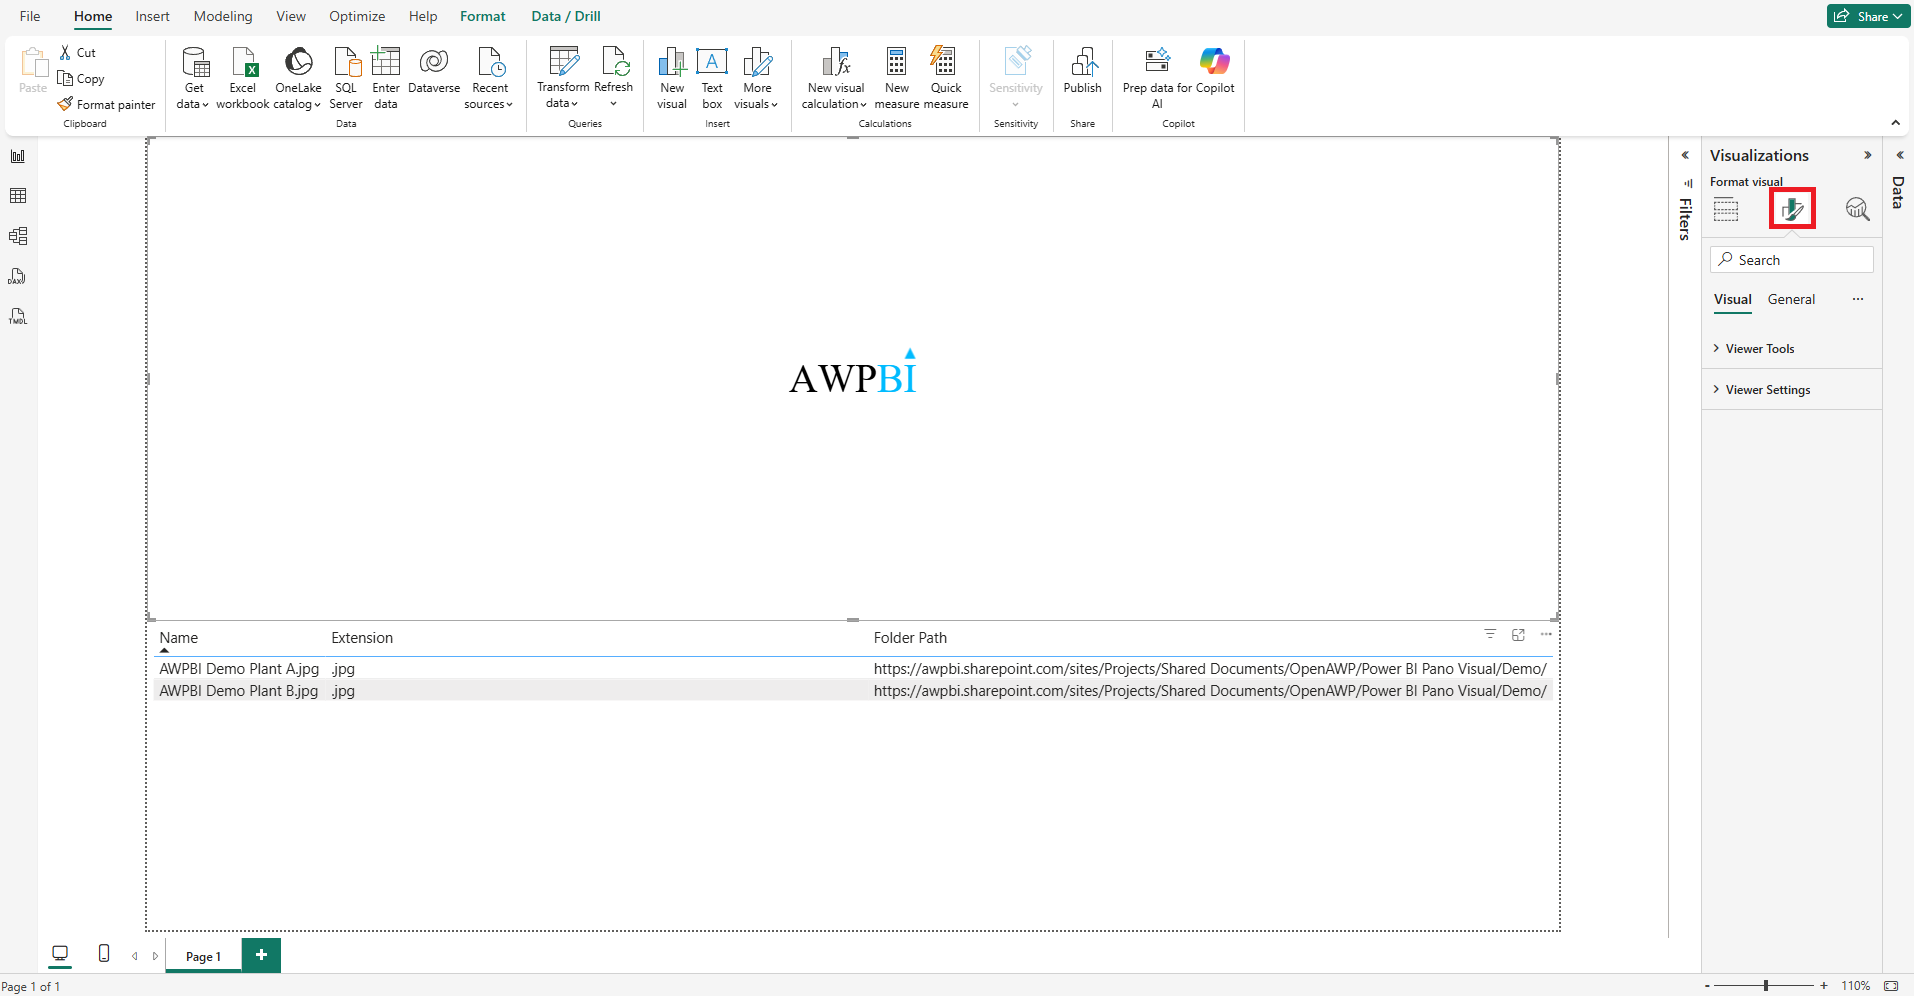
Select the visual, then open the Format visual tab, marked with the paint roller icon, in the Visualizations pane.
2. Expand the Viewer Tools section
These toggles control the viewer interface:
- Keyboard navigation. Enables or disables the movement and view-shift keys.
- Toolbar. Shows or hides the in-viewer toolbar for reset, zoom, and fullscreen.
- Locks. Shows or hides the lock buttons in Compare mode.
- Inversion controls. Shows or hides the camera inversion switch.
- Compare mode. Sets whether image comparison is enabled by default.
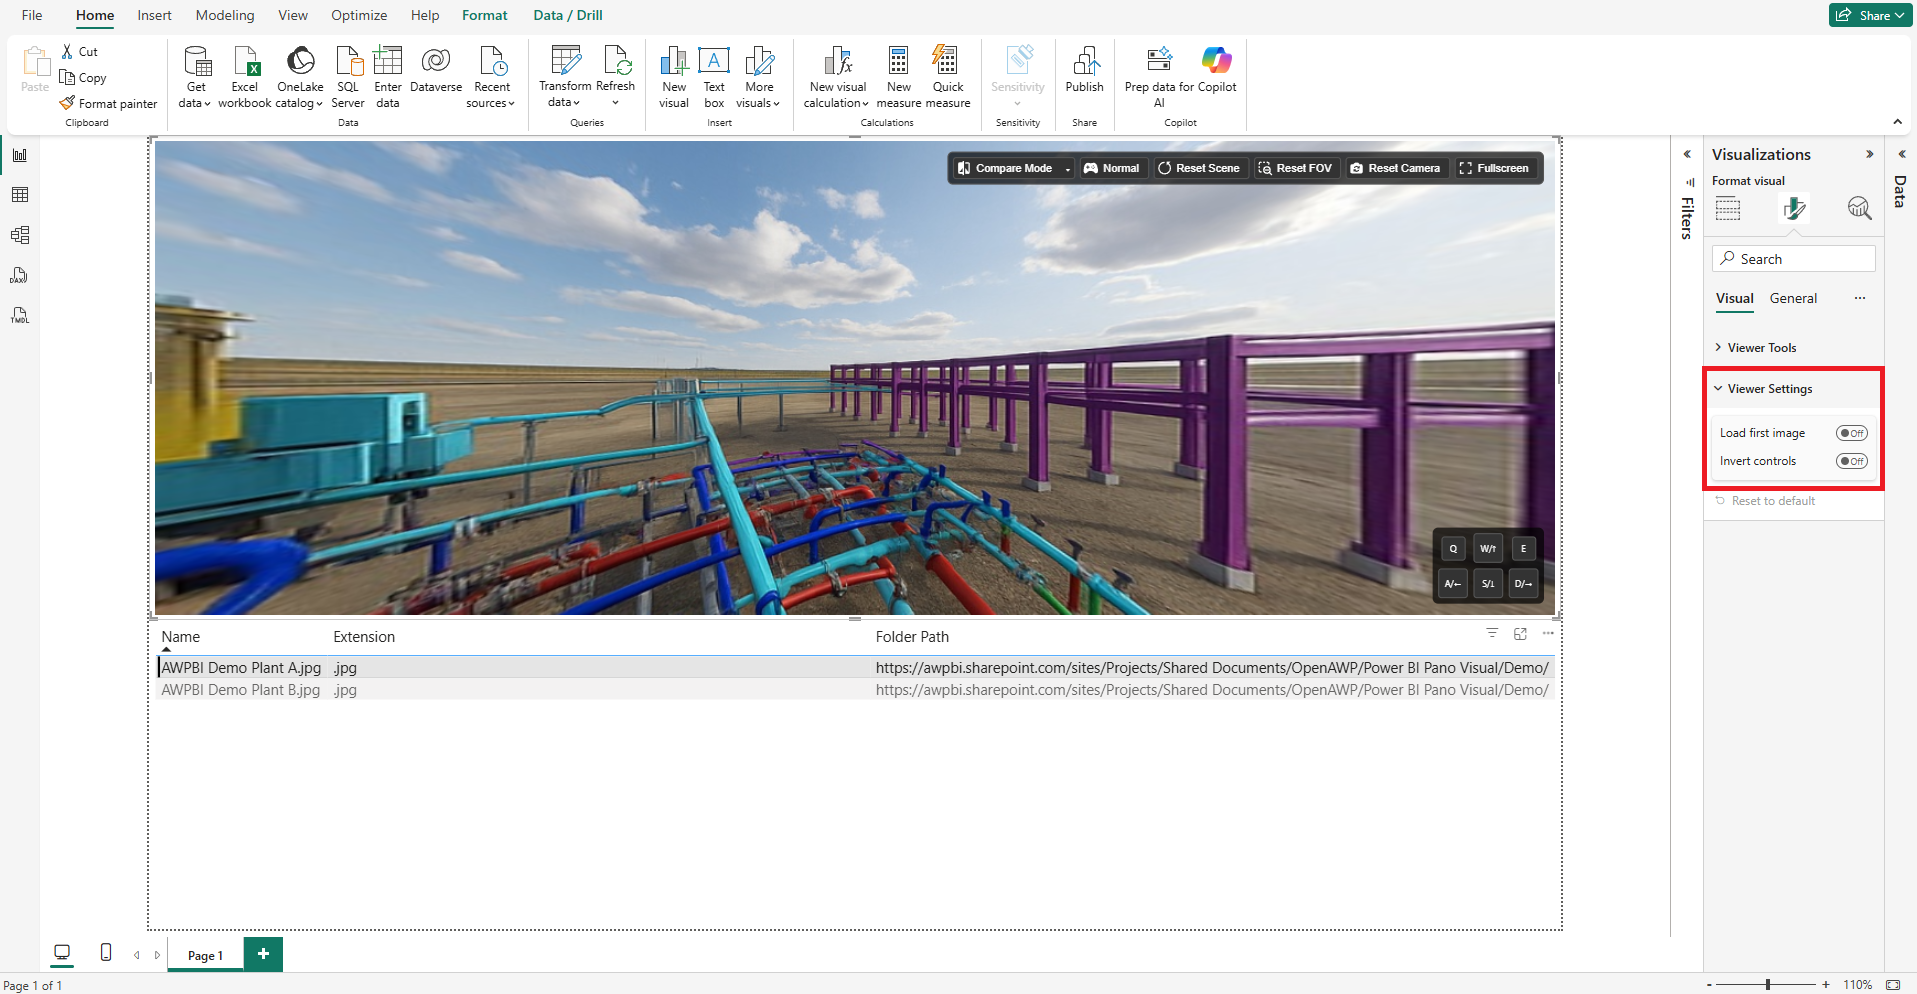
3. Expand the Viewer Settings section
These control default load behavior:
- Load first image. Automatically loads the first available image when the report opens.
- Invert controls. Inverts the camera controls in the canvas by default.
Viewer Functions
Once the query is configured and images are loaded into the data table, the viewer can be driven from the report canvas.
Click to Load
Click any row in the image table to load the corresponding panoramic image into the viewer.
Mouse Navigation
Click and drag to pan the camera around the scene. Use the scroll wheel to zoom in and out.
Keyboard Shortcuts
- W / ↑ and S / ↓ zoom in and out.
- A / ← and D / → rotate left and right.
- Q / E adjust the vertical view angle.
Toolbar Controls
- Invert Controls. Toggles the camera controls between normal and inverted.
- Reset Scene. Clears all previously loaded images from the viewer's memory and resets the scene.
- Reset FOV. Resets zoom to the default field of view.
- Reset Camera. Returns the view to its original orientation.
- Fullscreen. Expands the viewer to fullscreen.
Compare Mode: Side-by-Side
- Selection. Choose from previously loaded images using the dropdown in each comparison window.
- Reset FOV. Resets zoom to the default field of view for the selected window.
- Reset Camera. Returns the selected window's view to its starting position.
- Sync. Synchronizes the cameras of the two windows.
- Lock. Blocks manual camera interaction for the locked window.
- Navigation. Keyboard navigation applies to whichever window contains the mouse cursor.
Compare Mode: Overlaid
- Selection. Choose from previously loaded images using the dropdown in the comparison window.
- Reset FOV. Resets zoom to the default field of view.
- Reset Camera. Returns the view to its starting position.
- Sync. Loaded images are synced automatically.
- Navigation. Keyboard navigation applies to all loaded images.